
subpar autofocus and good controls
tinkering with the ergonomics on my ricoh gr iii

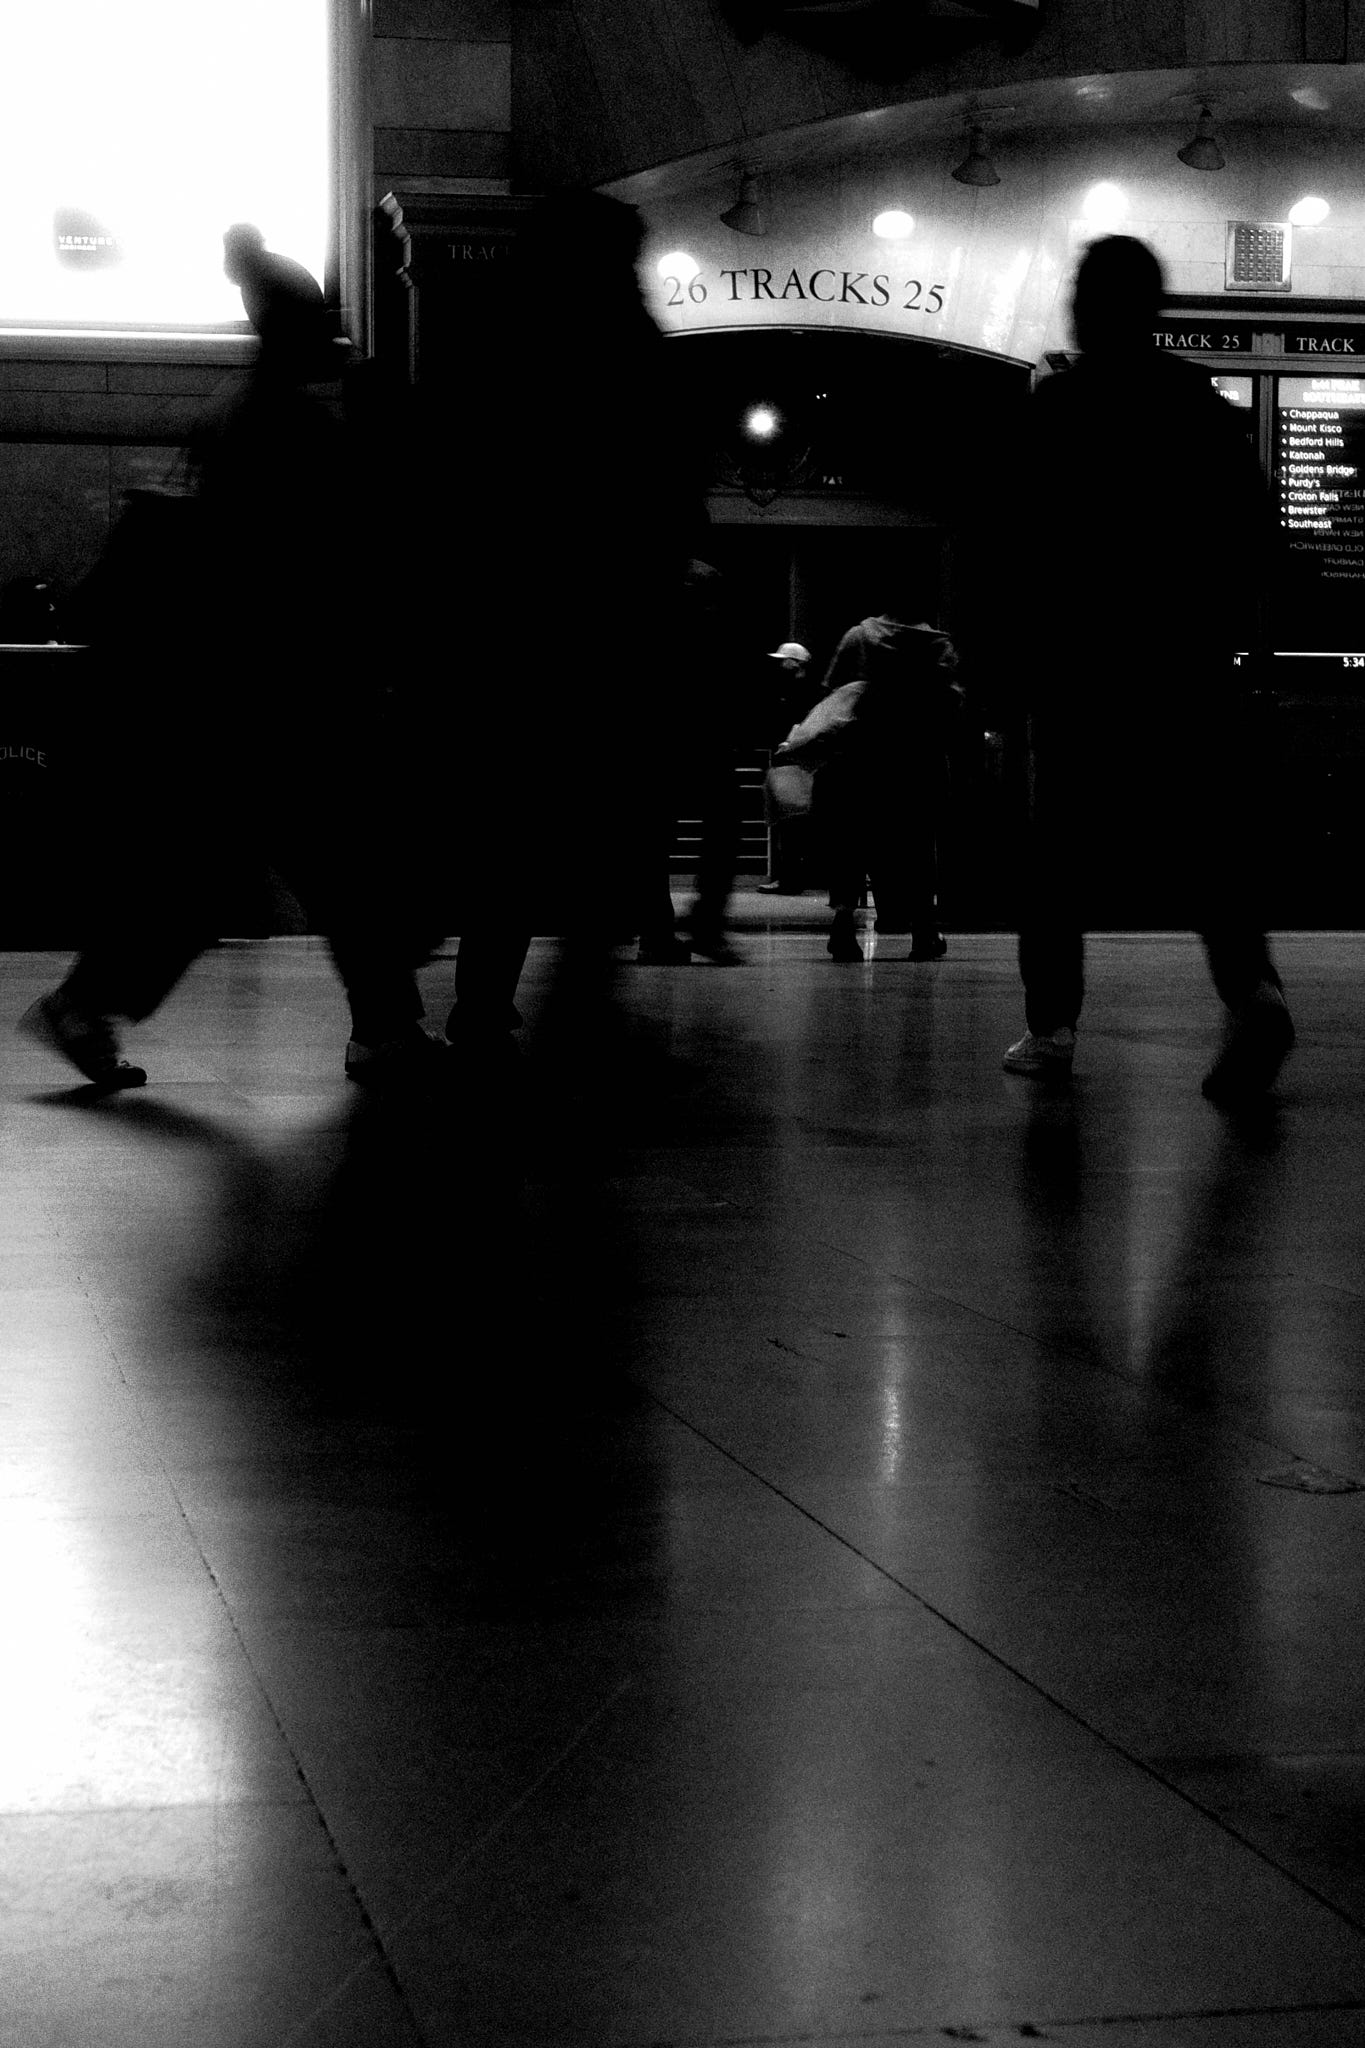
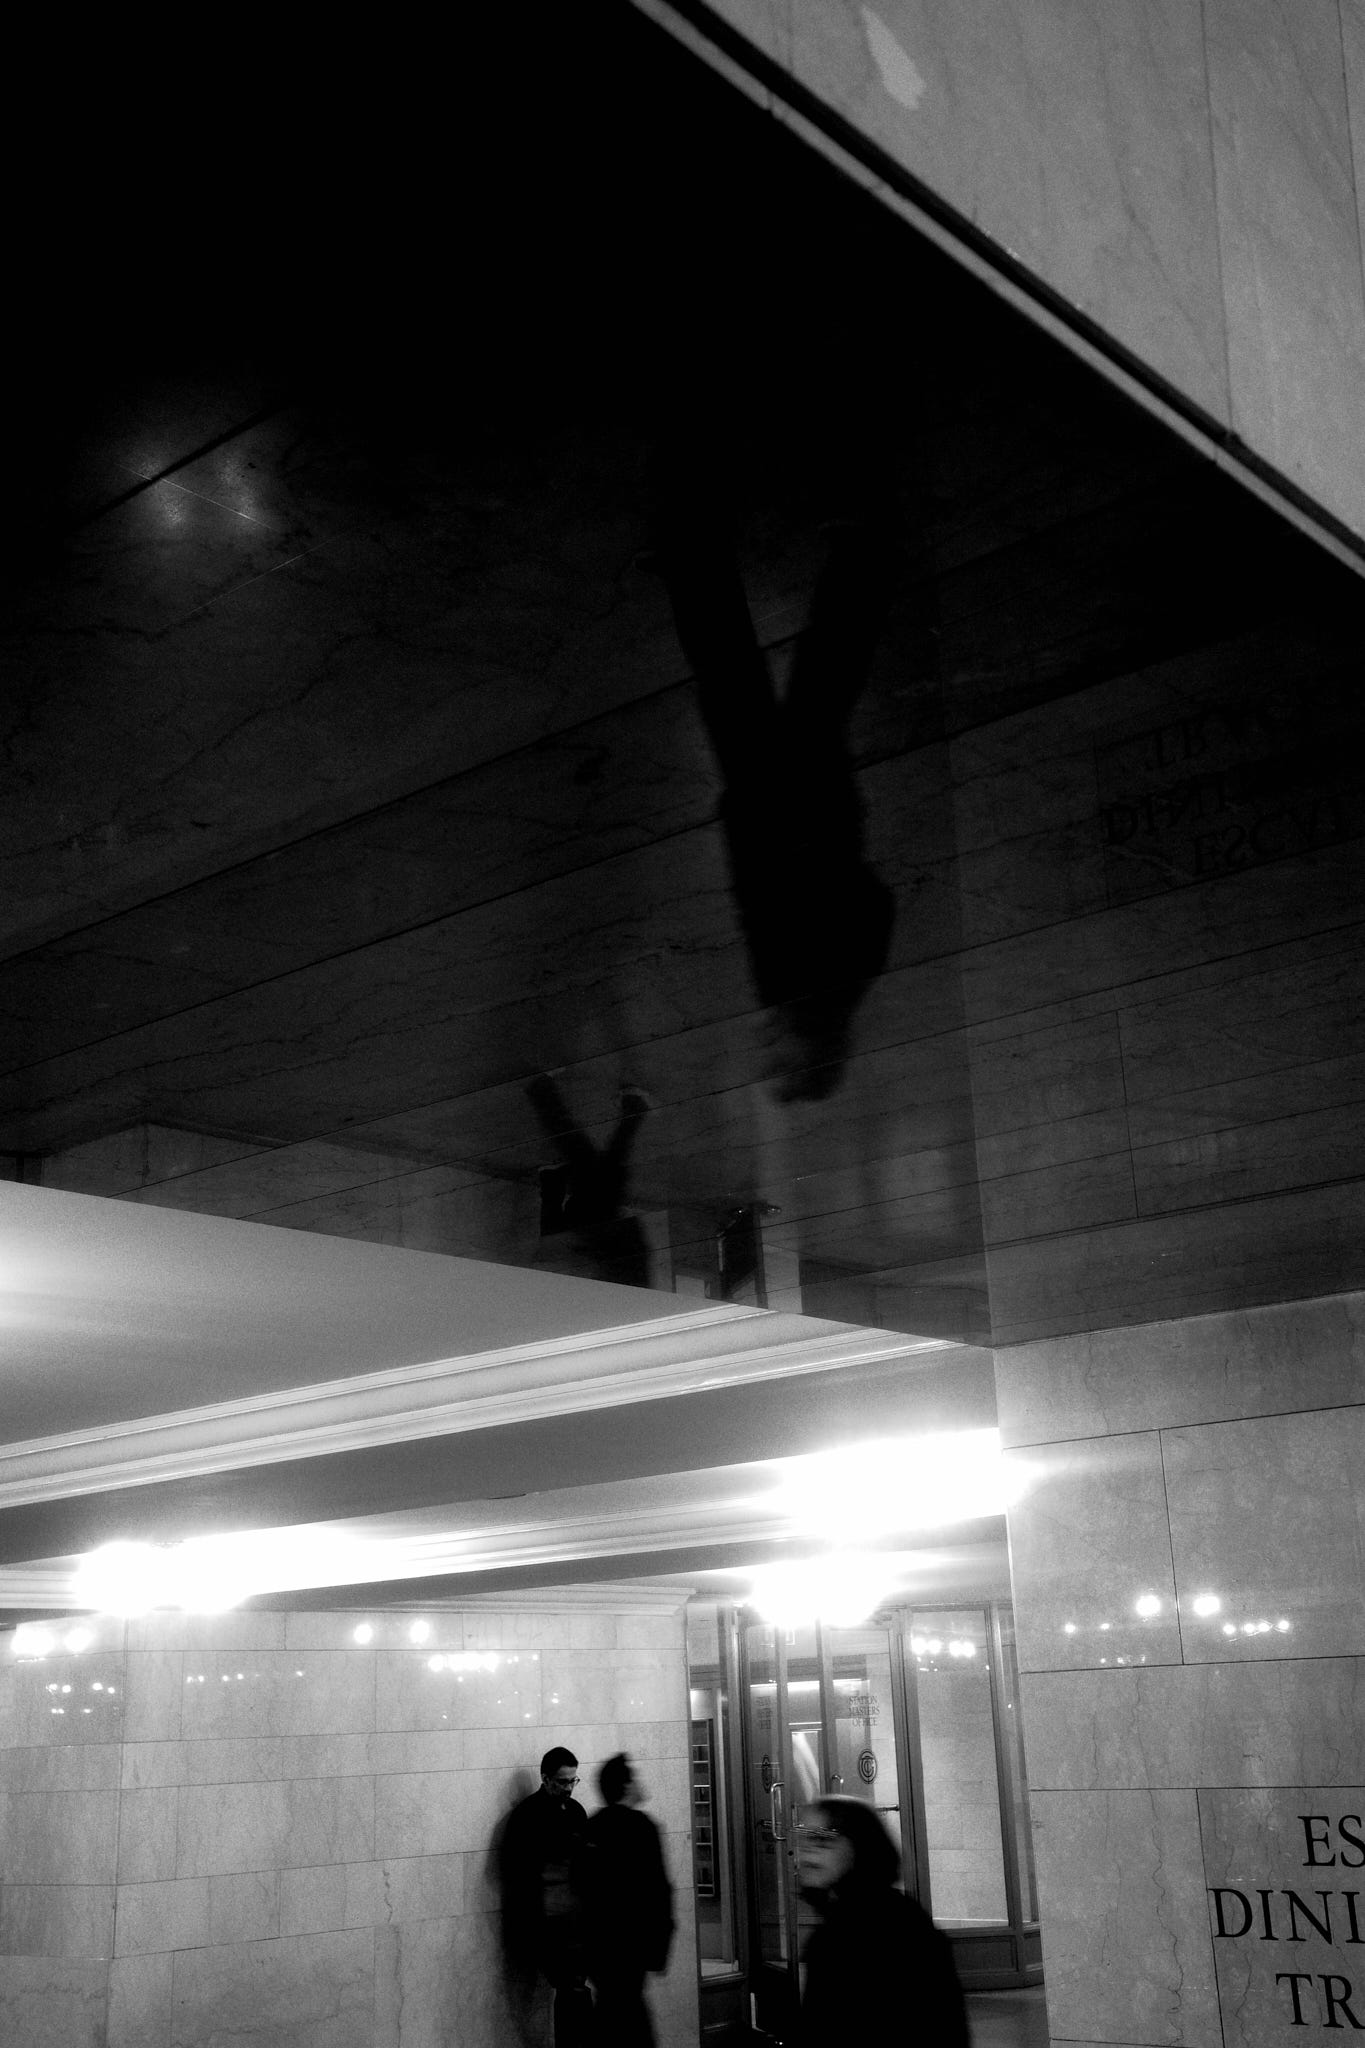
When my friend and I parted ways in Grand Central during rush hour one evening, I decided to stick around with my Ricoh, playing with light and underexposing figures in the bustling crowds.
I few shots in, I wanted to bump up my shutter speed and introduce some motion blur. But I found a disguised shortcoming: my custom modes were not set up for shutter speed control. I decided I’d deal with it by switching to manual or shutter priority mode. And the problem was that these modes didn’t have snap focus configured.
Just to backtrack: about a month ago, I purchased a used Ricoh GR IIIx HDF for street photography. With the smaller form factor and super sharp 40mm-equivalent lens, I wanted a creative tool that I could place in the path of everyday presence: more opportunities to notice and capture.
The amazing camera on my iPhone 16 Pro makes my photography convenient, but not truly creative. Maybe it’s in how connected my phone camera feels to habits of calls, browsing, and informational needs. I wondered, what about a separate tool could help me explore ergonomics and creative controls in a way that made me more attached to the process?
I had come across a video on custom mode settings for the GR III. The camera has three slots (U1, U2, U3) on the mode dial. You can save complete shooting configurations and switch instantly.
The initial configuration I landed on:
U1: black and white
U2: color positive film simulation
U3: snap focus mode
Each lets you configure exposure metering (highlight priority, multi-segment, etc.) and save preferences, which at the time seemed good enough.
So what’s snap focus?
Snap focus is Ricoh’s pre-focus system. You set a fixed distance (1.5m, 2.5m, or 5m). If you’re in autofocus mode, normally you half-press the shutter button to autofocus and full-press to shoot. But if you “bypass” the half-press, the camera just focuses to the preset distance and shoots at that distance. This accomplishes “zone focusing”, which is common in street photography and useful in low light scenarios, where it can circumvent unreliable autofocus entirely.
A flyover
Quick layout context:

Mode dial (top): switches between P, Av, Tv, manual, and three custom slots (U1/U2/U3)
Assignable Fn1 button + 4 directional buttons on the dial which can also be assigned
Adjustment lever (back): small lever with left/right control, which can also be depressed as a button to access 5 quick settings menus
A vertical dial in front of the shutter button
A Fn2 button on the left side of the camera
Earlier this week, I realized I wanted to remap the Fn buttons, in order to make snap focus accessible from any mode, not just U3.
This means that if focus fails in low light, I can hit the side Fn button to switch to snap focus, and use Ricoh’s zone system to get the shot. Side note: I haven’t really gotten used to “full-press to snap focus” quite yet (feels odd to have the image totally out of focus and then suddenly come into focus only when I fully depress), but maybe I’ll change the side Fn button to Crop mode once I do.
Then, the more I used my custom modes (U1/U2/U3), the more I realized that color profiles weren’t what I needed in the moment. It was having safe defaults for shutter speed depending on the scene that I want to immediately capture.
So I changed U1 and U2:
U1: manual exposure, designed to freeze motion (1/160s), ISO auto, f/8
U2: manual exposure, “creative” shutter speed with a default at 1/30s (capturing motion blur in low light), ISO auto, f/4
In both U1 and U2, with ISO set to auto, the back rotary dial becomes able to control exposure compensation. Also in manual mode: adjustment lever controls shutter speed, and the vertical front dial controls the aperture.
I’m leaving U3 unchanged for now.
I moved color profiles (”image control”) to the center menu of the adjustment lever.
Other creative controls of note:
Right dial button maps to exposure metering (i.e. switching between highlight-priority to compose with crushed shadows in harsh lighting, and the more versatile multi-segment mode)
Left dial button allows me to have the back rotary dial adjust ISO manually if I wish. I don’t really use this often, and instead have set safe defaults for maximum acceptable ISO.
Holding the top dial button while scrolling the vertical front dial allows me to adjust the zone focus distance (this is getting more intuitive! Video clip above demonstrates this on the distance bar: bumping up aperture increases the band in focus, while bumping up the focal distance moves the point in focus)
Idiosyncracies
I probably wouldn’t have settled on any of this if the GR IIIx weren’t a six-year-old camera with mediocre autofocus. In its place, a few aspects of ergonomics came into focus instead:
Creative controls need to live where your hands expect them. Not buried in menus or requiring multiple presses. They need to exist in the periphery of practice so you can access them in the moment.
Difficulty builds understanding. When something’s hard to set up, you’re forced to understand it better. You only develop this if you take notes and tinker.
Tools that require setup create attachment. The GR IIIx doesn’t promise out-of-the-box perfection. There are levers you need to learn to own more of the process. That ownership creates attachment.
I think that factors into great design. Not making everything easy, but making the hard things worth learning. Bit by bit, every dial and every button is beginning to map to something I understand more deeply. Because they’ve evolved of my own process, I can’t describe the current configuration as something other than idiosyncratic. Being able to switch easily between AF and zone focus, control exposure metering on the fly, map shutter speed defaults to different modes - these exist in building a workflow piece by piece.
It’s starting to seem like this is what attachment looks like. Not falling in love with a product, but earning understanding through friction.